You are reading a legacy post - If you are on our application hosting or if you've ordered after the 1st of November 2022 then these guides are obsolete, please refer to our new docs page at: https://docs.hostingby.design
In this guide, we will outline the ways of getting Resilio Sync setup on your seedbox with us, it will however not cover setting it up locally on a NAS or similar.
The first thing you have to do, is to login to your service's webui for Resilio, this is done via the link as listed below;
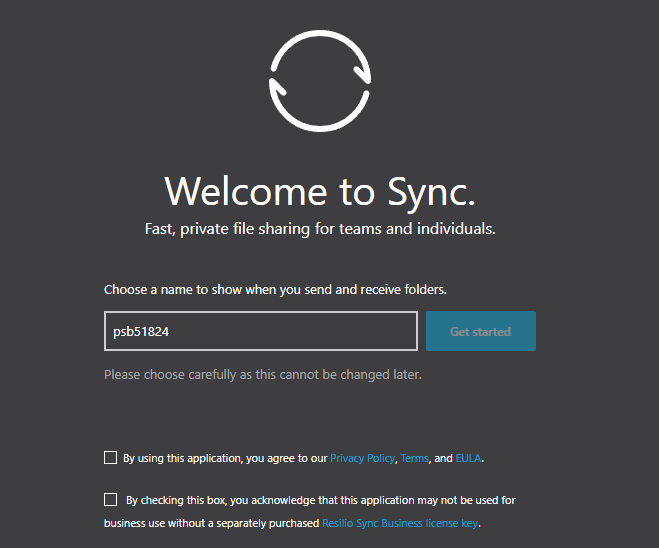
https://<username>.seedbox.io/resilio - Once you have entered this path, you will be asked for your login credentials that have been provided in the welcome email (It is the same for FTP and WEB access), you will then be greeted with the first page;

Here you simply tick the options, and click on "Get started"
When logged in, you will often see this message at the start;

You will have to ignore this, we are behind updates on purpose to avoid adopting new software that might cause issues, if you are having a specific issue that are fixed in a newer version, then please reach to our support team.
Next step is to add a folder, there's a little thing to take note of here, we will guide you through that below here.
First, click on the plus sign and hit "Standard Folder"

Then the big issue comes here, as Resilio is not meant to sync the initial folder for downloads, you cannot simply add one

Doing so will result in an error, therefore the only way to do this is via the webui and the builtin filemanager:
You simply click filemanager, right click and pick "New directory":

Once that is done, you will have the option of adding that folder inside the Resilio Sync config:

From here you can then chose the permissions etc for this folder, and we strongly advice using the "Copy" option for the key as it is generally less prone to issues:

This is then inserted into your local Resilio Sync installation and the sync folder will be created.
Now this will not automatically download all data, as the data is being download to another folder, you can get around this by using the autotools plugin inside the rutorrent interface, so once again head over there:

A few things to note on the screenshot above, first click autotools in the left panel, then click "Enable automove", make sure the filter is set as listed (It is the default setting), then where the button is now an X it will be a few dots, click that to get a full listing of your content, and then simply click on the "Testing" folder (Or what you called it yourself) and then click on the X to select it, OK to save it.
To sync existing data you'd have to move the files into the created folder manually using either the filemanager or using FTP.
Once all of this has been configured you are good to go!
As always, if you have any questions, then do please hightlight our support team and we will do our best to help you out.


